Inserting some effects to your photos will help to make your photos more impressive and magical. So today I would like to share with you a basic tutorial on how to create rain, snow
and spark effects. I will combine these three effects into one because it's
actually the same.
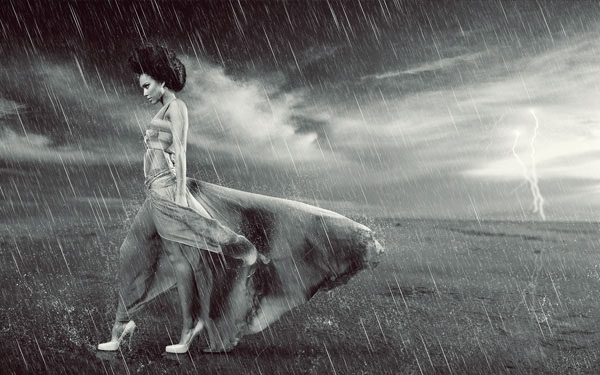
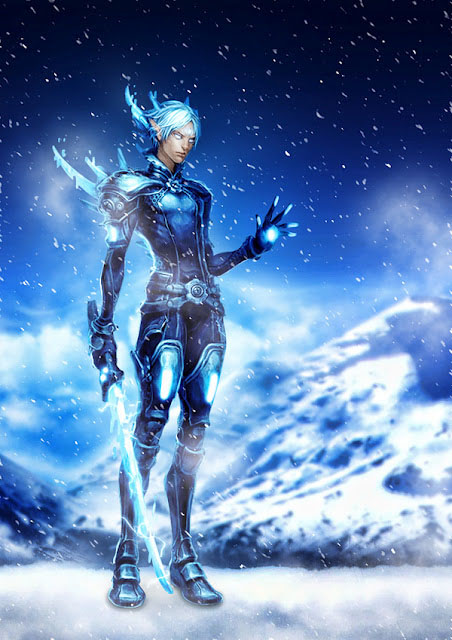
Some examples of three effects (applied to manip files)
Rain effect:
Snow effect
Electric spark effect
Step 1: Create a new file (Ctrl + N).
Press D to return the color box to black and white. Fill black (Alt +
Backspace)
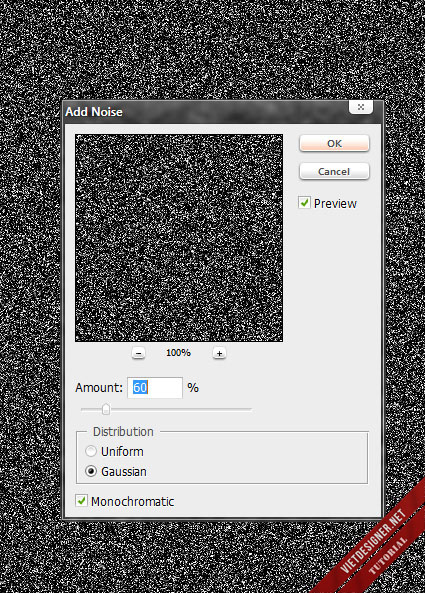
Filter> Noise> Add Noise (parameters can be
customized for you).
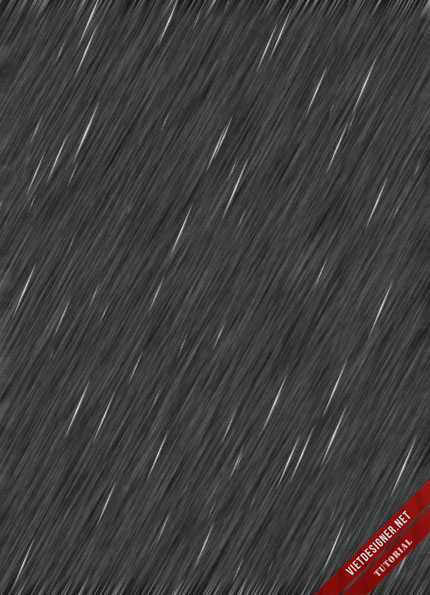
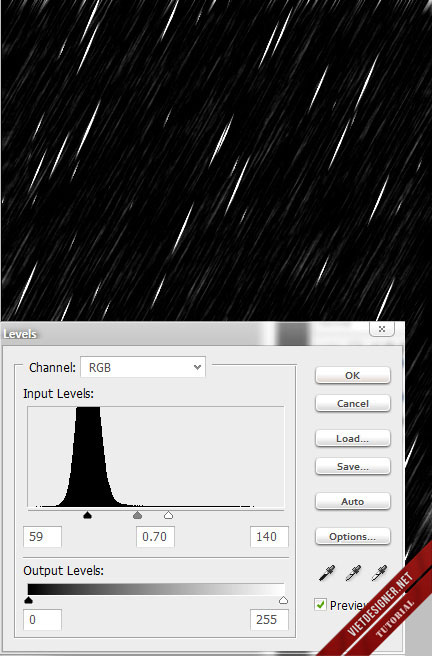
- Create rain drop effect
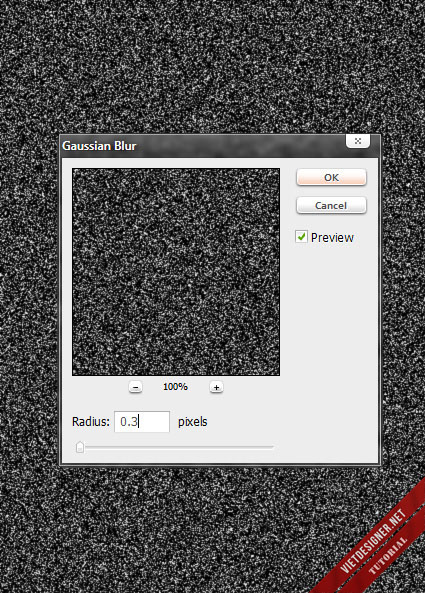
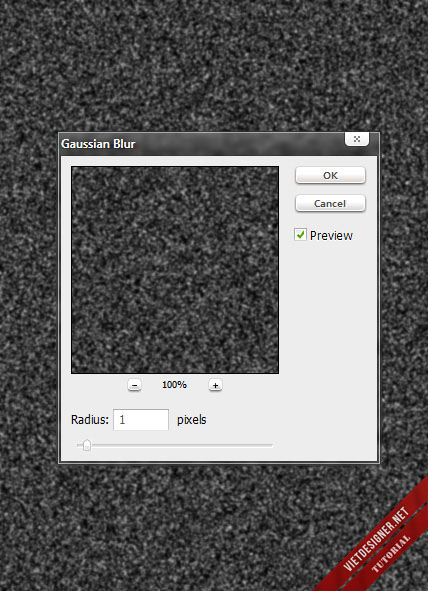
1) Filter> Blur> Gaussian Blur
(depending on the size of the kick, but only 0.1 to 1px).
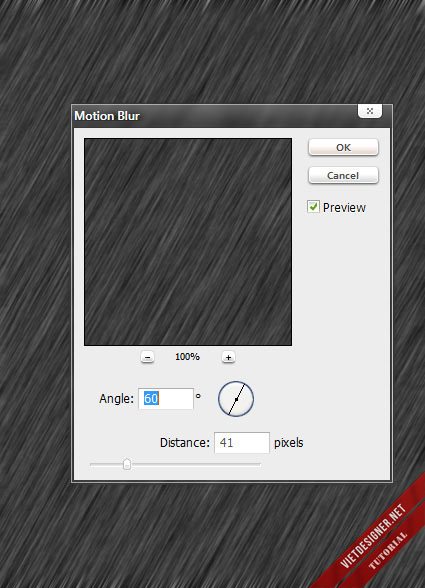
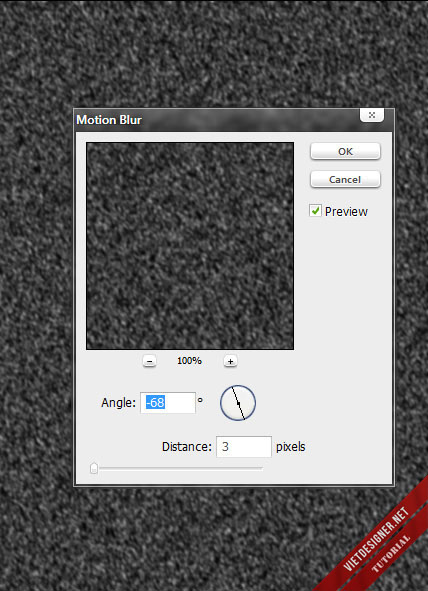
2) Filter> Blur> Motion Blur (the higher the distance number is, the thinner the rain is).
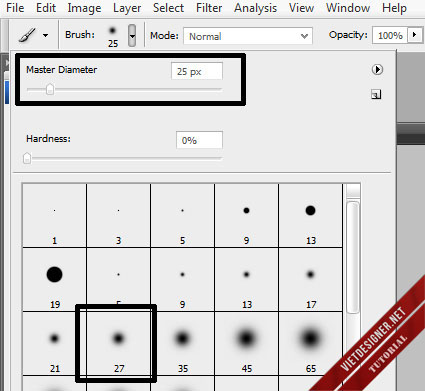
3) Create a new file, set the brush to 25px
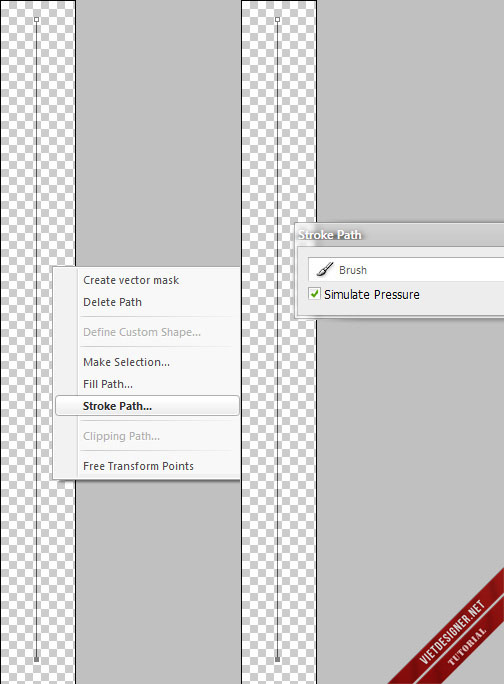
Use Pen (P) to draw a straight line from top to bottom as follows:
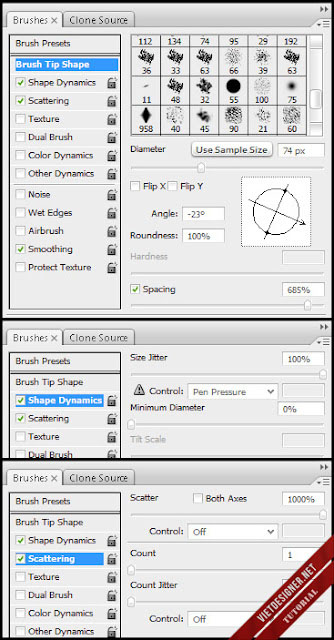
Set the brush, white and fill
- Create snow effect
1)
Filter> Blur>
Gaussian Blur
2)
Filter> Blur>
Motion Blur
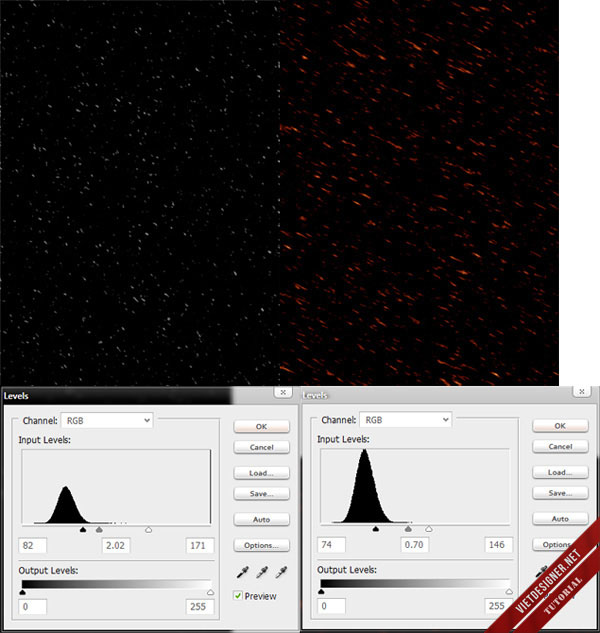
- Create sparks effect
Steps 1 and 2 are the
same as the snow effect 3)
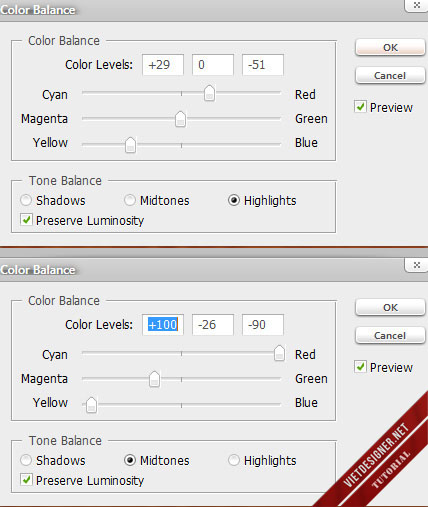
Create a layer of Color Balance (Layer>
New Adjustment Layer> Color Balance)
Step 2: Here you see the effect is not complete, this is an important step to create a complete image of the effect.
Create a Layer Level (Layer> New Adjustment Layer> Level)
Step 3: Because the area you want to take is only a white area, so you need to
set the blending to disappear black area, in this case we use the Screen blending function, if the effect
lem up Mod the mask you create to
delete.
Hope you enjoy this
article!





0 nhận xét:
Đăng nhận xét